
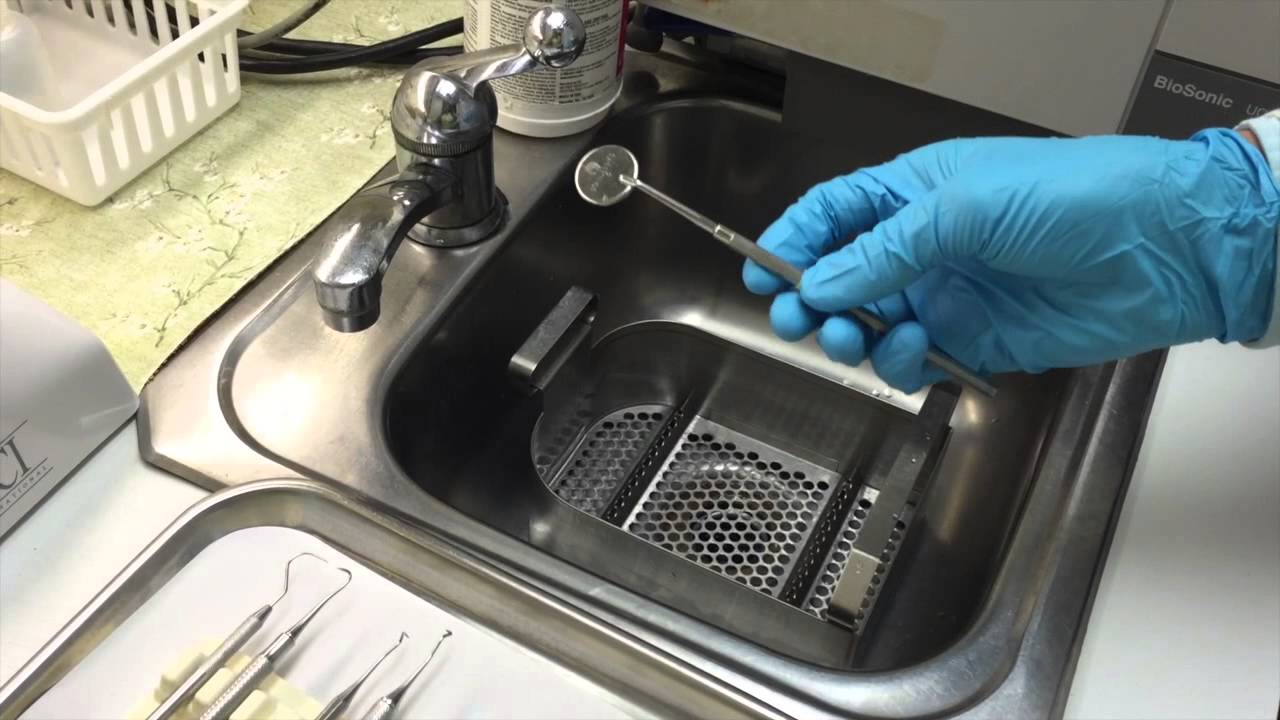
Sterilization is one of the most important parts of operating a successful dental office. Assistants must know how to properly disinfect and sterilize all materials that are used in patient care, from mirrors to chairs to slow-speed dental tools. The sterilization process must be strictly followed after every single patient encounter. It should be a systematic process that leaves no room for error. Learn about the step-by-step guide for easy and effective dental sterilization.
- Bring Contaminated Materials to Designated Lab Space
After patient care, all contaminated materials should be brought to a designated space in the sterilization lab. There should be a clean side and a dirty side so that clean materials never become contaminated. Once the materials to be sterilized are out of the patient room, the assistant should change gloves and return to the operatory to thoroughly disinfect all surfaces.
- Remove any Debris and Soak
Once the patient room has been cleaned, the assistant should remove gloves and return to the sterilization lab. There, he or she should don new gloves and use a brush or ultrasonic cleaner to remove debris from instruments. The instruments can then be soaked in an enzymatic solution before being sterilized. This helps remove large particles from the surface of the instruments so that they are not baked on in the autoclave.
- Sterilize in Autoclave
All items should be properly packaged and then put into an autoclave or other sterilization equipment. Manufacturer guidelines should be followed for the length of time needed for proper sterilization to be achieved. Spore testing should be performed at least one weekly; it may need to be done more often depending on how often you use the sterilization system.
- Store for Future Use
Once materials have properly dried in the autoclave, they should be moved to a designated area for clean instruments. Some types of packaging have special color indicators that show if the proper sterilization temperature was reached; these indicators should be checked after every cycle. The clean storage area should be clearly designated so that no contamination occurs. The sterilized materials should be in labeled containers to make it easy to find them when needed.
When everyone makes a concerted effort to keep instruments sterile and safe for patient use, the clinic will operate better as a whole. Consider implementing these easy steps for making the sterilization process as seamless as possible.
